
01 · Install
Install the firmware
Connect and install
Your browser can't install firmware. Use Chrome or Edge on a Mac, Windows or Linux computer.
Installing needs a secure (https) page.
Plug the ESP32-C3 into this computer with a data USB cable, press the button and pick the port that appears. Takes about a minute. Works in Chrome and Edge on desktop.
Firmware 1.0.0 for ESP32-C3. Download firmware (.bin)
No port appears, or it won't connect?
- Try another USB cable. Many cables only charge and carry no data.
- Hold the board's BOOT button while you plug it in, let go, then press Connect and install again.
- Close anything else using the board, such as the Arduino serial monitor or another installer tab.
- When it finishes, the first 30 LEDs glow warm white. If they stay dark, check the 5 V supply, ground and the data wire to GPIO 3.
02 · App
Get the app
The free lightControl LED iPhone app is available now on the App Store. Once installed, open it and your light appears under Lights. On first power-up the light glows warm white so you know the wiring works.
Build files · November 6, 2026
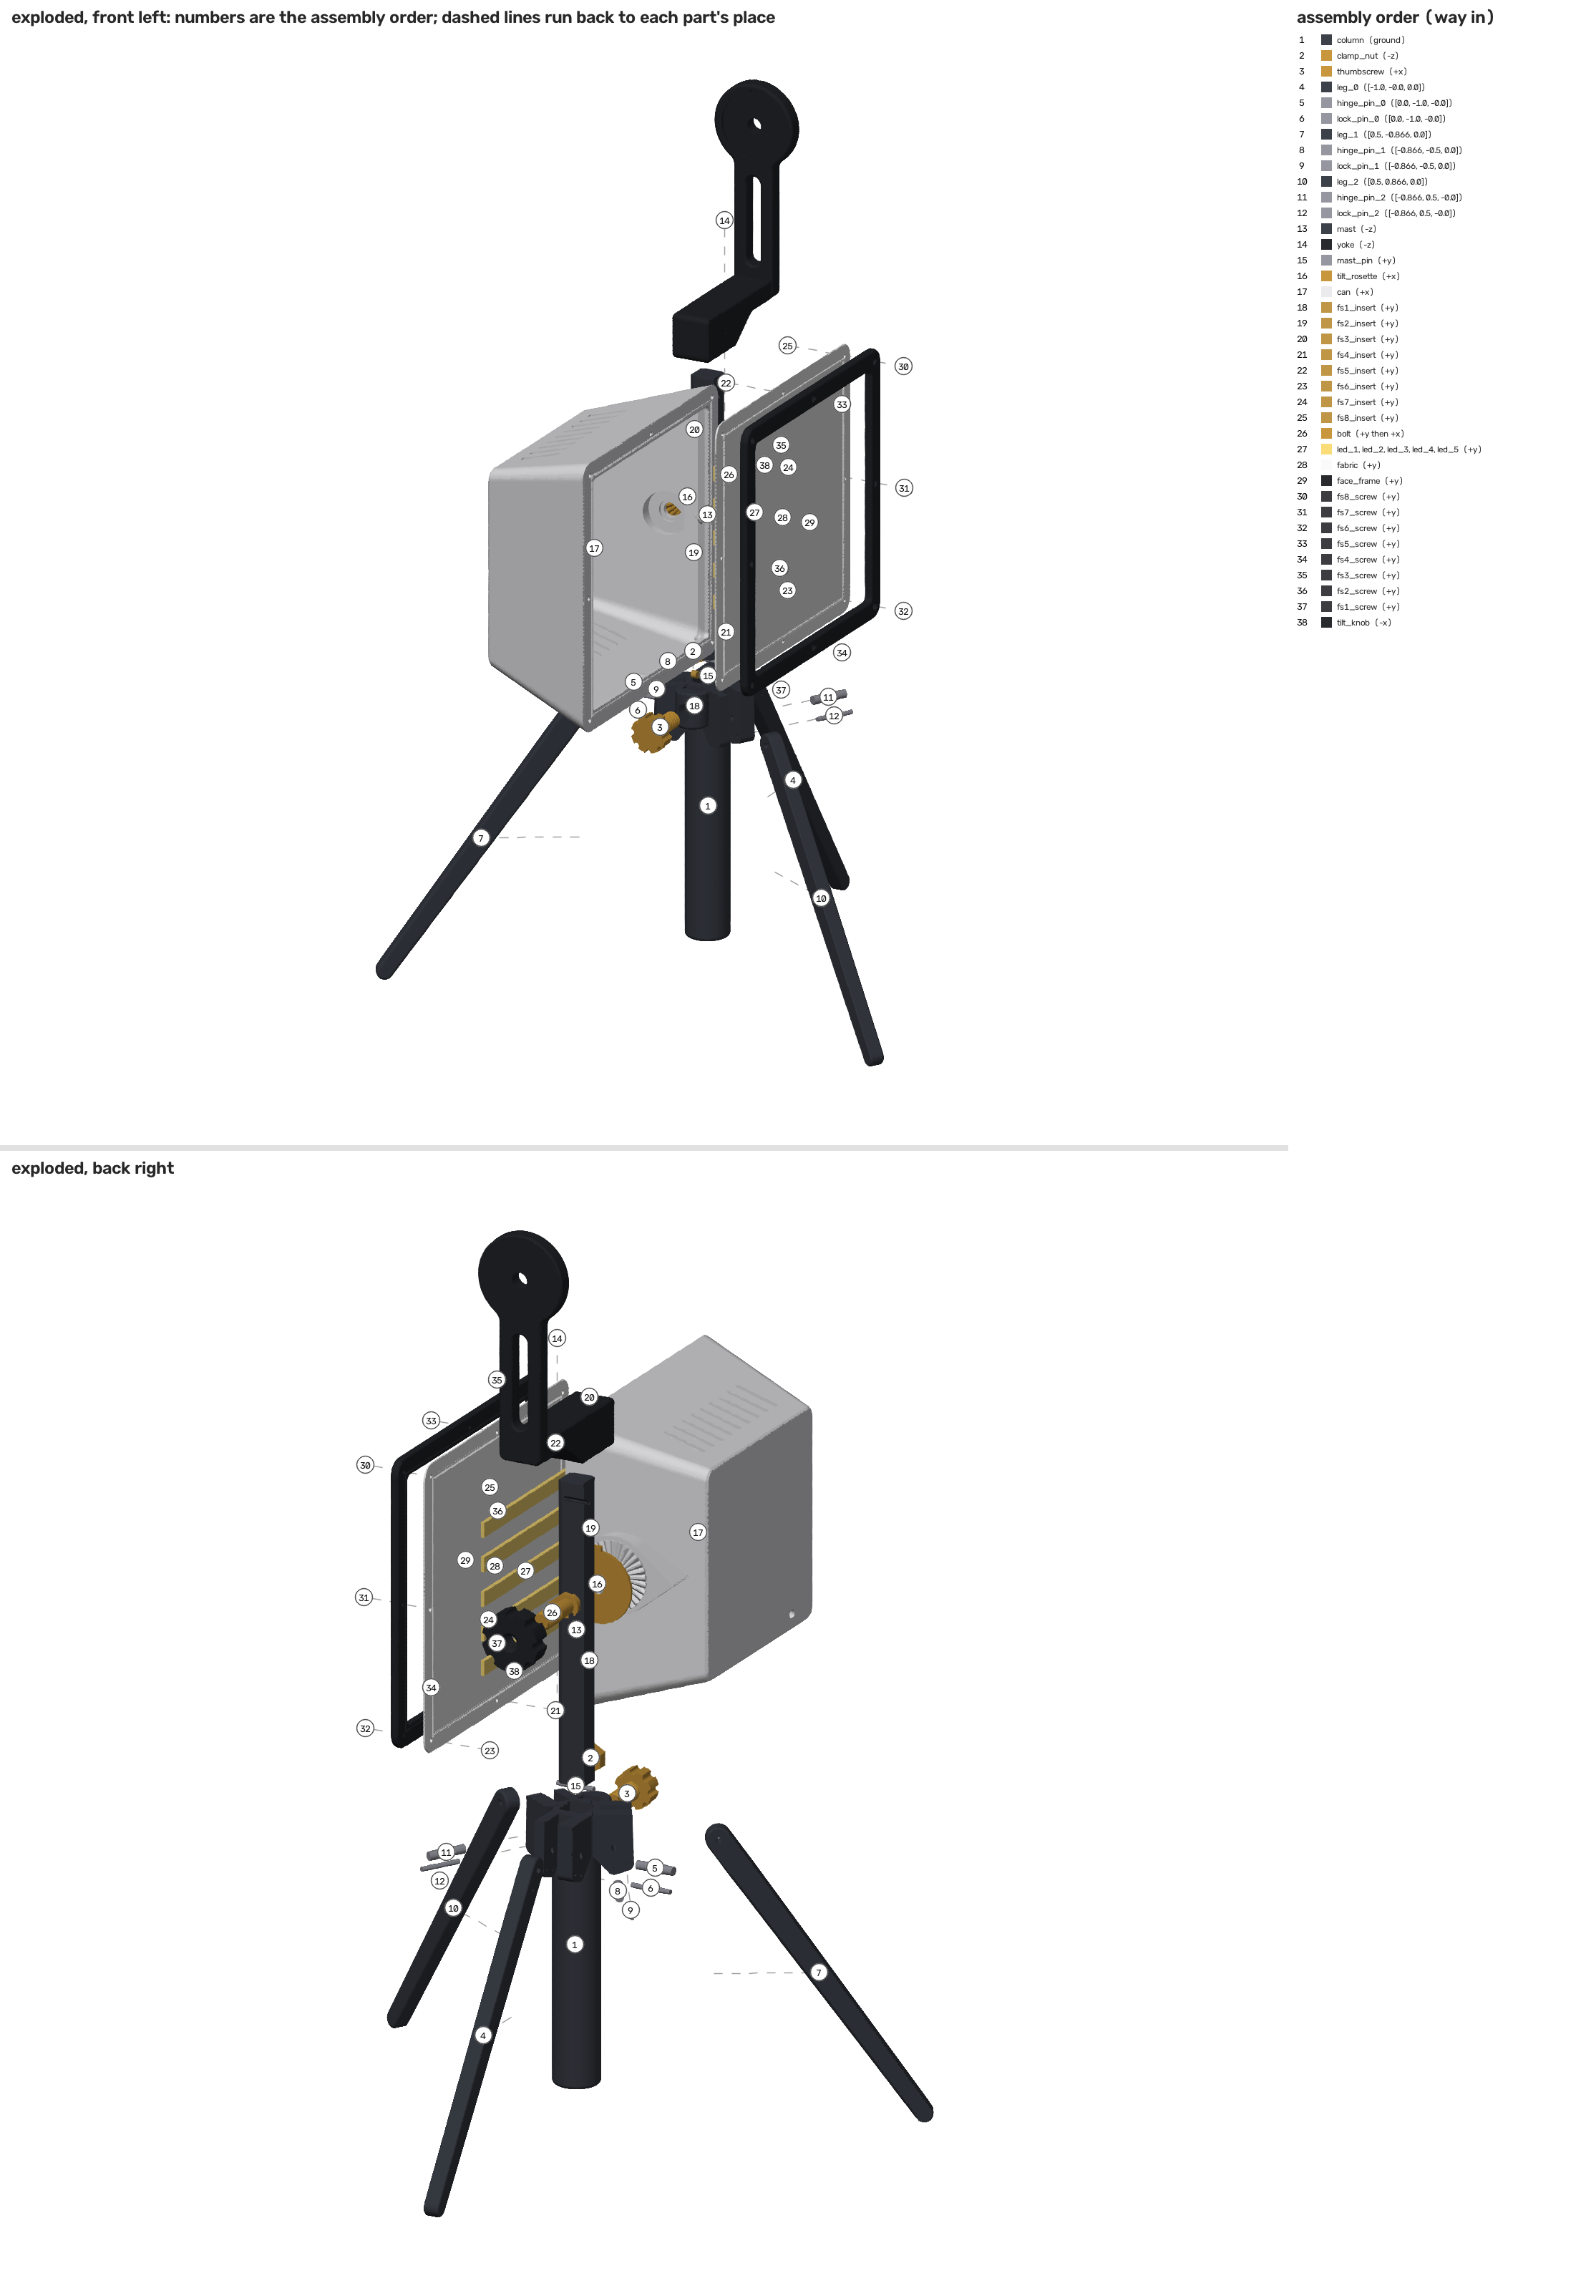
CAD, print files & assembly
These are the original November 6 mesh-based design files, from before the clean round-hole update. They are provided as an earlier design revision.
The older mechanical guide references a 12 V strip. The lightControl electronics use a 5 V WS2812B strip; do not apply 12 V to those electronics.
- Full Fusion STEP and 3MF assembly (ZIP, 55.5 MB)
- Full assembly (3MF, 7.3 MB)
- Per-part STLs and five Bambu print plates (ZIP, 15.4 MB)
- Assembly guide with cut list and 1:1 sorting card (PDF)
- CorkBot plotting version (PDF)
03 · LED Setup
Tell it about your LEDs
- In the app, open your light, then LED Setup.
- Enter how many LEDs your strip has. The light restarts to apply it.
- Tap Test colours. The first LED should be red, the second green and the third blue. If not, change the colour order.
- Choose Loop if the strip forms a closed shape, or Strip for a single run.
- Step the start LED until the lit LED sits where you want bars and sunrises to begin, such as the bottom middle of a square.
- Set the power limit to what your 5 V supply can deliver.
04 · Parts
What you need
- ESP32-C3 board (any with native USB, such as the ESP32-C3 SuperMini)
- WS2812B LED strip (up to 600 LEDs)
- INMP441 I2S microphone (only for Bar Spectrum)
- 5 V power supply sized for your strip: about 60 mA per LED at full white
- 5 V AHCT125 / AHCT1G125 data buffer and 330 Ω resistor for the LED data line
05 · Wiring
Wiring
| From | To ESP32-C3 |
|---|---|
| LED strip DIN (through 5 V AHCT buffer and 330 Ω) | GPIO 3 |
| LED strip 5V / GND | 5 V supply; supply GND also to the board's GND |
| INMP441 SCK | GPIO 5 |
| INMP441 WS | GPIO 4 |
| INMP441 SD | GPIO 10 |
| INMP441 L/R | GND |
| INMP441 VDD / GND | 3V3 / GND |
Power long strips from the supply, not through the board's USB. A computer's USB port gives about 500 mA, enough for roughly 8 LEDs at full white.
06 · Wi-Fi
Wi-Fi is optional
The light works over Bluetooth alone. Give it Wi-Fi in the app only if you schedule sunrises, so it keeps the right time after a power cut.
Questions? See Support or read the privacy policy.